Skip to main content
Search
Search This Blog
Urban Simplicity
Random Thoughts on the Sacred Journey of Everyday Life
Posts
Showing posts from December 1, 2011
Show all
07 December
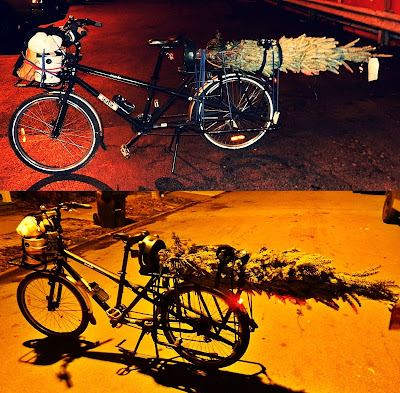
Things That Can be Carried on a Bike (#374)...and a quick conversation
06 December
Another View from my Handlebars
06 December
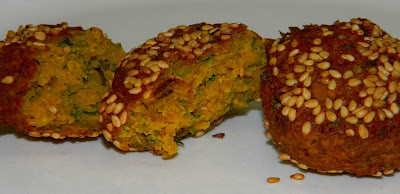
Falafel (Yum!)
05 December
Virtual Land Owner
04 December
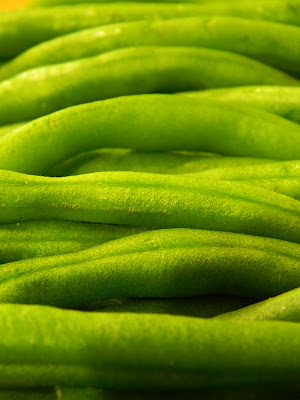
Fagiolini con Aglio e Olio
02 December
A Few Things I Saw over my Handlebars
02 December
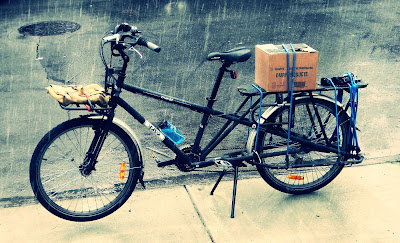
Things That Can Be Carried on a Bike (#373)...plus two recipes.
Newer Posts
Older Posts
Home